Quickstart
From signup to your first client in 15 minutes.
This guide gets you from nothing to a Kiravy workspace with your first client in about 15 minutes.
Kiravy is built for Malaysian accounting firms doing books for SME clients. The smallest unit is a firm workspace — every accountant in your firm joins the same workspace and shares the client list.
What you'll do
- Create a Kiravy account and your firm workspace
- Add your first client
- Invite a teammate (optional)
- Add data — manually, via receipts, or via CSV import
1. Create your firm
- Go to staging.kiravy.com/signup
- Sign up with your work email and verify it (check your inbox for the link)
- After verification, log in — a setup wizard opens automatically
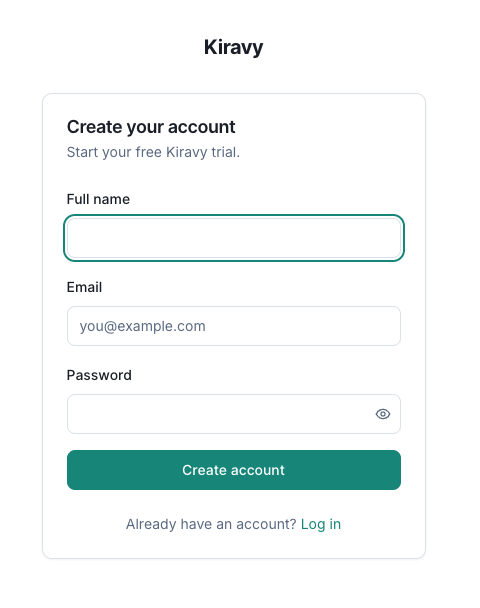
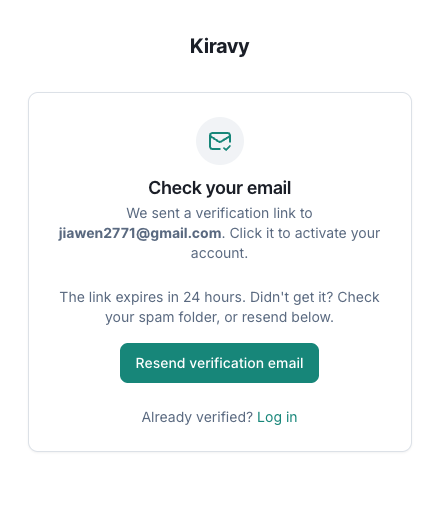
After submitting, you'll land on a verification page — check your inbox for the verification link.
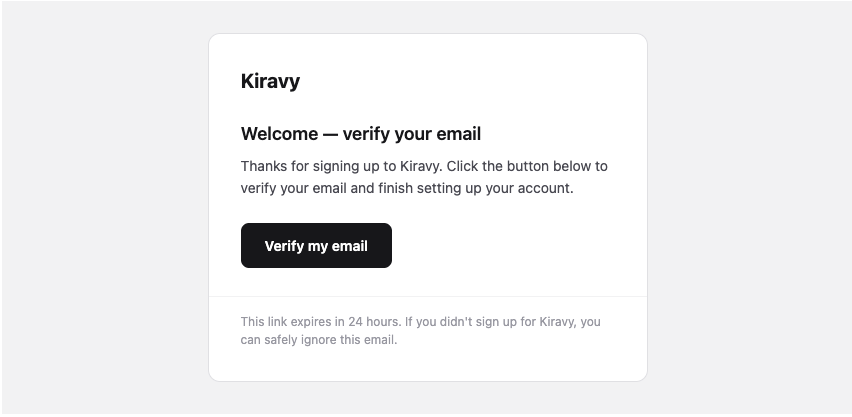
Once verified and logged in, the wizard opens:
The wizard walks you through three quick steps:
- Firm name — pre-filled from your email, change it if needed (e.g. Lee Wei Tech & Associates)
- Invite team — add colleagues now, or skip and do it later from Settings → Team
- First client — add your first client right here, or skip and add one later
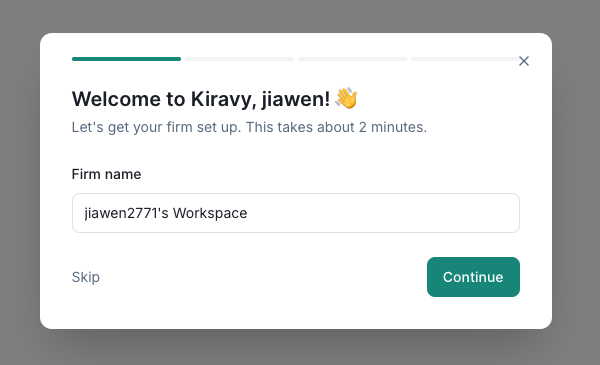
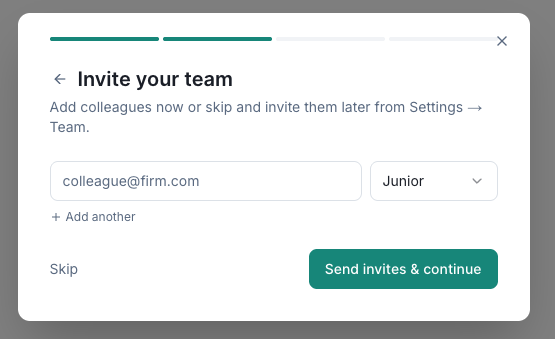
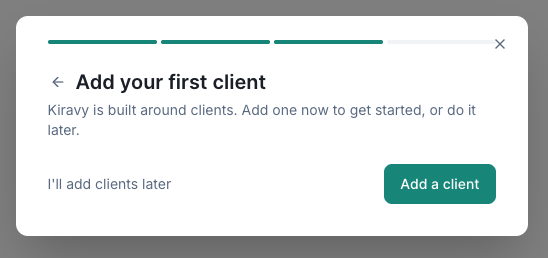
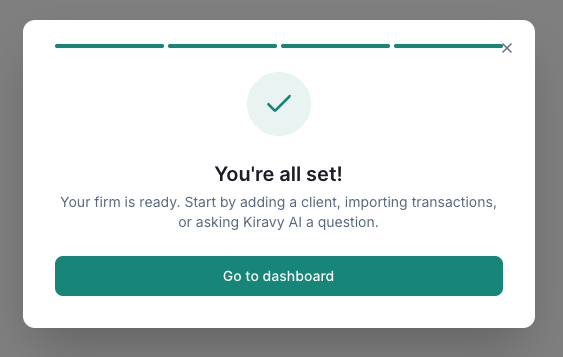
You can skip any step — the wizard won't appear again once dismissed.
You're now a Partner in this firm workspace, with full access. Other roles (Manager / Staff / Viewer) come into play when you invite teammates.
2. Add your first client
If you added a client in the wizard, it's already in your Clients list — skip ahead to step 3.
Otherwise:
- Click Clients in the sidebar → Add client
- Enter the client's name (required) and currency (defaults to MYR)
- Save
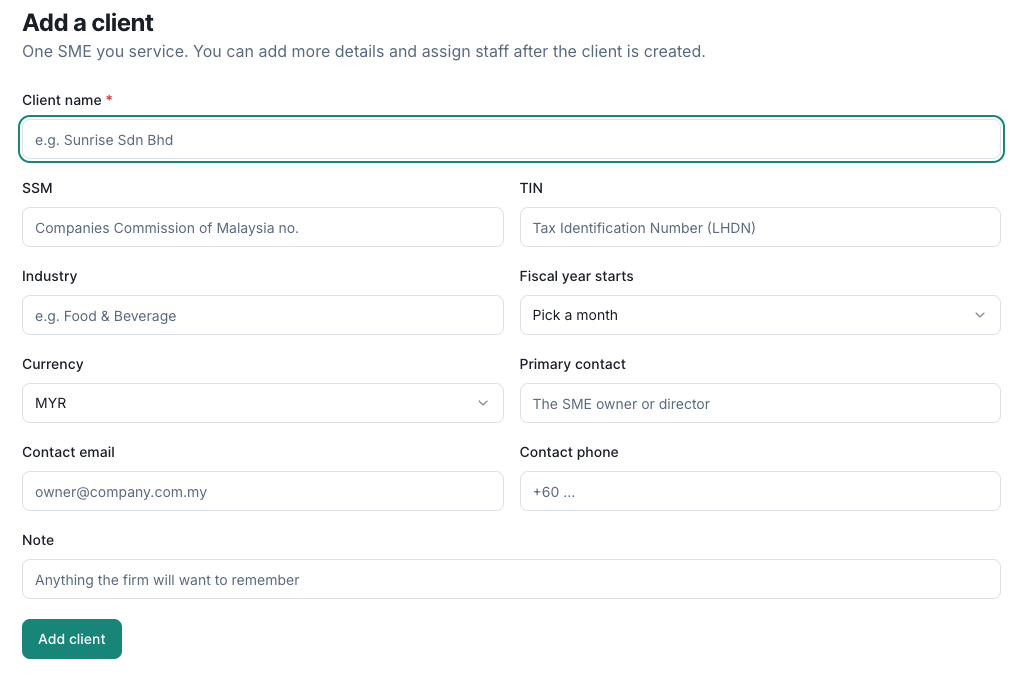
The client now appears in your Clients list. Clicking it opens the client workspace, with empty tabs (Transactions, Customers, AR, AP, etc.) waiting for data.
3. Invite a teammate (optional)
If you already sent invites in the wizard, skip this. Otherwise:
- Settings → Team → Invite member
- Enter their email and pick a role:
- Partner — full access, can manage firm settings and members
- Manager — full access except deleting the firm
- Staff — only sees the clients they're assigned to
- Viewer — read-only, only assigned clients
- They get an email link; once they accept, they're in the firm
See Roles & permissions for the full breakdown.
4. Add data
Three ways to get transactions into a client's books — mix and match freely:
Receipts (OCR upload)
Upload photos or PDFs of bills and receipts. Kiravy's AI extracts the vendor, date, total, and SST; you review and hit Save — it lands as a transaction. Start from any client → Receipts → Upload receipt.
Full guide: Receipts (OCR).
Manual entry
Type transactions directly. Good for one-off journals, opening balances, or anything you don't have a receipt for. Client → Transactions → Add transaction.
Full guide: Transactions.
CSV import
Have transactions in a spreadsheet? Client → Transactions → Import CSV opens a 4-step wizard: upload → map columns → preview → done.
What's next
- Start reviewing transactions for accuracy
- Use the Receipts (OCR) flow for paper bills
- At month-end, kick off an engagement to walk through everything systematically
- Invite teammates from Team in the sidebar → Invite member